Complete Robot Kit
Build Your First Autonomous Robot
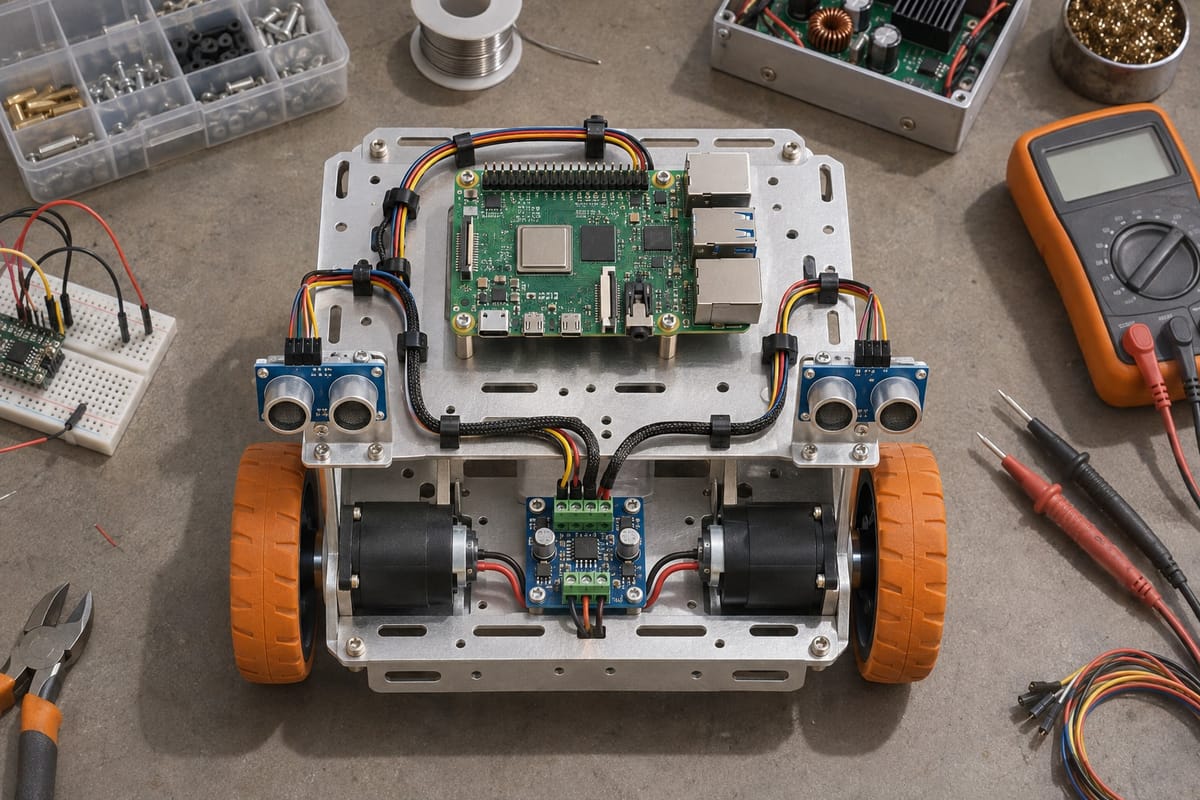
This complete starter kit pairs a Raspberry Pi 4 with motors, sensors, and a sturdy chassis so you can go from unboxing to autonomous navigation in one weekend. No hunting for compatible parts—everything works together out of the box.
What Makes This Kit Work
What's in the Box
Core Components
- Computer
- Raspberry Pi 4 Model B (RAM variant specified at checkout)
- Motor Control
- Dual H-bridge motor driver, 2A per channel, PWM speed control
- Sensors
- Two HC-SR04 ultrasonic distance sensors (front and side mount)
- Chassis
- Aluminum frame with acrylic deck, four mounting levels
- Drive
- Two DC geared motors with wheels and encoder rings
Electronics & Fasteners
- Wiring
- Pre-crimped Dupont cables (M-F, F-F), power leads, sensor harnesses
- Power Distribution
- Voltage regulator module for Pi, battery holder bracket
- Hardware
- M3 standoffs, screws, nuts, cable ties
- Documentation
- Assembly manual, wiring diagram, quickstart code repository link
Requirements (Not Included)
- Power
- 7.4V Li-ion battery pack or 6× AA battery holder (sold separately)
- Storage
- MicroSD card (16GB+ recommended) with Raspberry Pi OS
- Tools
- Phillips screwdriver, wire stripper (if modifying cable lengths)
How You'll Build It
The assembly sequence moves from mechanical base to electronics layer to software configuration—each step confirms the previous one works before adding complexity.
Projects You Can Build
Autonomous Navigation
The default code reads distance from the front sensor in a loop—when an obstacle appears within a set threshold, the robot stops, reverses, turns, and continues. It's the foundation for any mobile autonomous behavior.
Once you have basic avoidance working, add the side sensor to choose turn direction based on free space, or log the sensor data to map the environment as the robot explores.
Manual Operation
Run the HTTP server script and control the robot from any browser on your local network—arrow keys send GPIO signals that adjust motor speeds and direction in real time.
Great for testing mechanical adjustments, demonstrating the build to others, or as a fallback when autonomous logic misbehaves.
Guided Path
Add infrared line sensors to the chassis underside (mounting holes provided) and swap in the line-follower script. The robot reads reflectance from a dark track and steers to stay centered.
Useful for warehouse simulations, competition prep, or any project that needs repeatable paths without GPS or external tracking.
Common Questions
Do I need prior programming or electronics experience?
Basic comfort with Python and willingness to follow wiring diagrams is enough. The assembly manual walks through each connection, and the sample code is heavily commented. If you've installed an operating system or run a script before, you'll be fine.
Which battery should I use with this kit?
A 7.4V Li-ion pack (like our 3000mAh model) gives the best runtime and recharge convenience. Alternatively, a 6× AA holder works but adds weight and requires frequent battery swaps. See our battery selection guide for detailed comparisons.
Can I add a camera or other sensors later?
Yes—the Pi's camera connector is accessible, and the upper deck has open GPIO pins and mounting space. Common additions include the Pi Camera Module for computer vision, IMU modules for orientation tracking, or additional distance sensors for 360° coverage.
What if a component arrives defective?
Contact us with a description of the issue and we'll troubleshoot with you. If the part is faulty, we'll send a replacement. Full details in our refund policy.
Does this kit work with Arduino instead of Raspberry Pi?
The motor driver and sensors are Arduino-compatible, but you'd need to source your own Arduino board, voltage regulator, and rewrite the control code. The kit is designed and documented specifically for Raspberry Pi.
You May Also Need
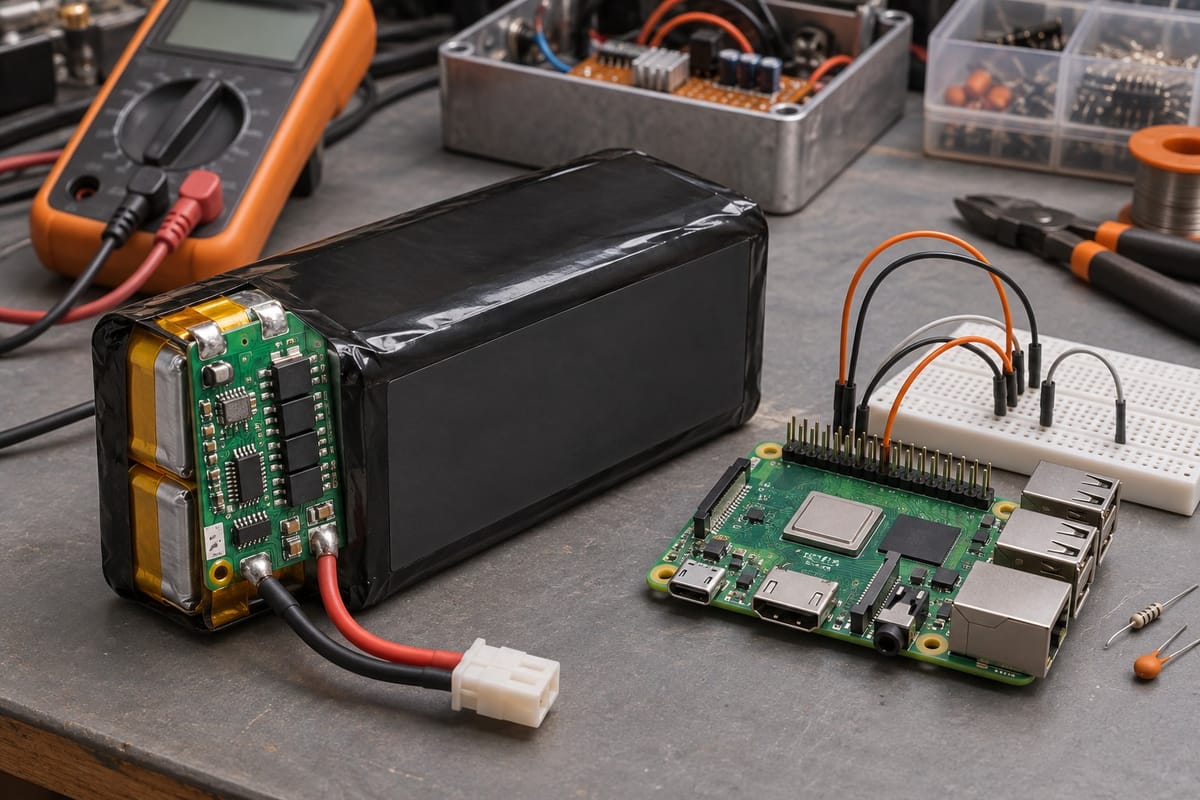
3000mAh Li-Ion Battery Pack
Rechargeable 7.4V Li-ion pack with 3000mAh capacity and built-in protection circuit. Designed for Raspberry Pi robots, motor controllers, and portable electronics projects.
Read more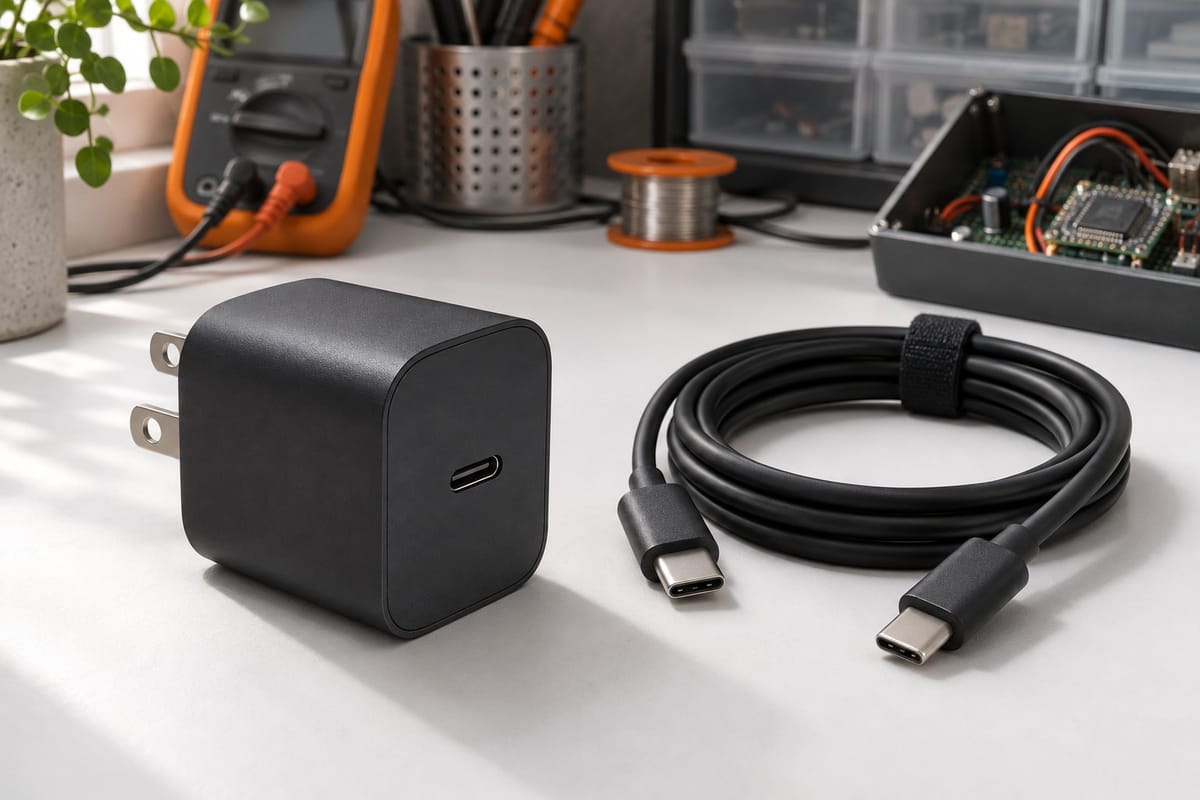
USB-C Smart Charger 3A
Fast, safe charging for Raspberry Pi 4 and rechargeable battery packs. Built-in voltage regulation and overcharge protection keep your projects powered without risk.
Read more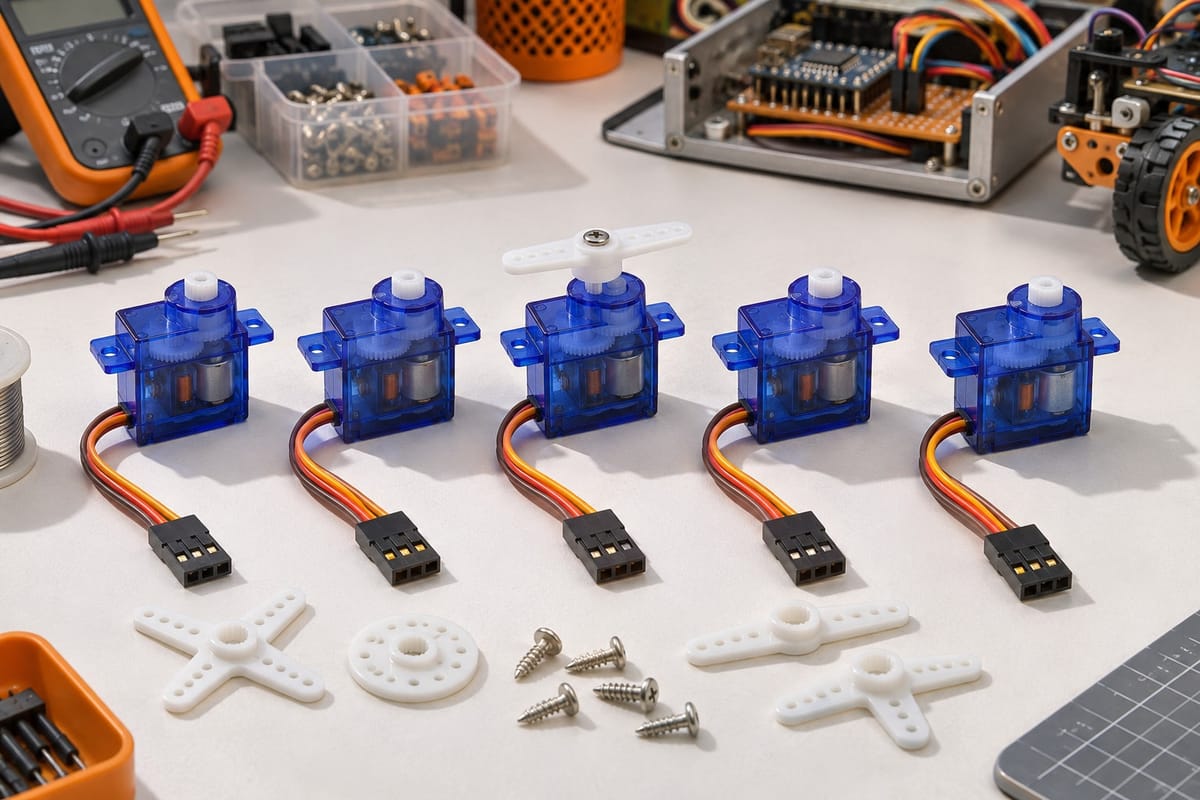
SG90 Servo Motor 5-Pack
Pack of five SG90 micro servos delivering 180° rotation with analog control. Ideal for robotic arms, pan-tilt camera mounts, and articulated joints in Raspberry Pi and Arduino builds.
Read more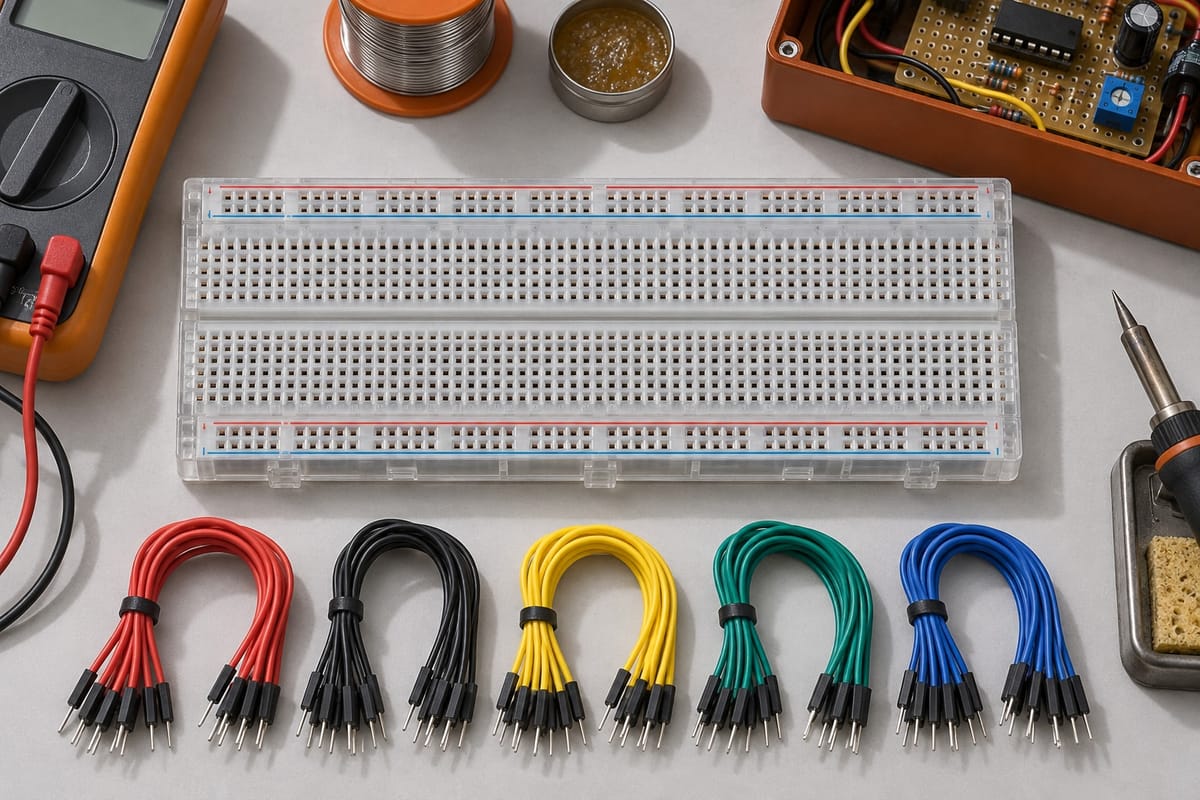
Breadboard & Jumper Wire Set
830-point solderless breadboard paired with 65 color-coded jumper wires. Build and test circuits without soldering—ideal for prototyping, learning, and iterating on robotics designs.
Read more
Ready to Build?
Get in touch to confirm availability, ask technical questions, or request a bulk quote for your classroom or maker group.